YouTube Video: https://youtu.be/p6WUPzEG5ec
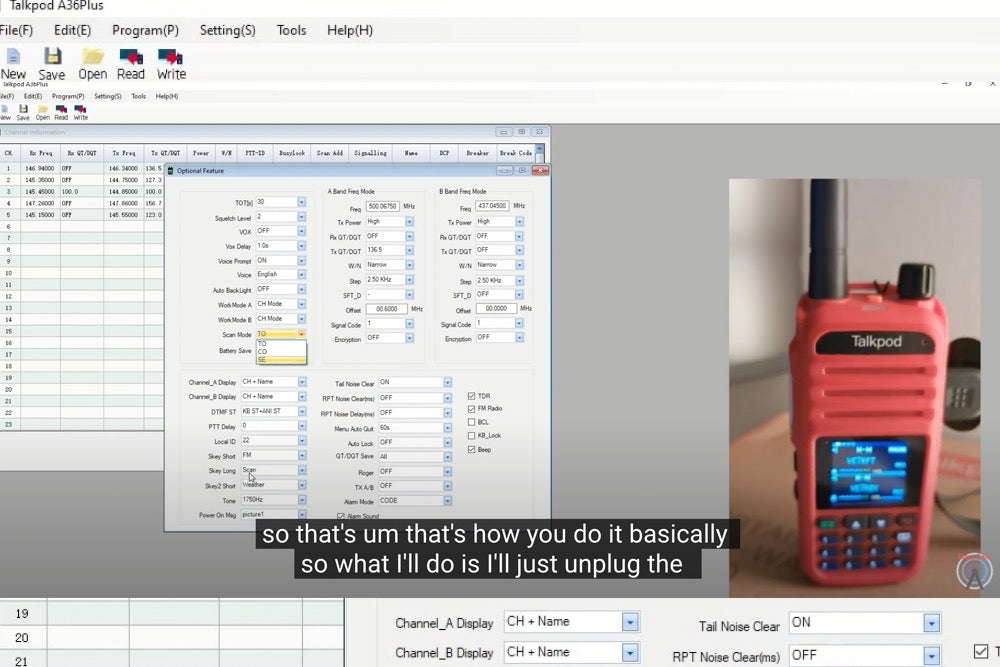
Ham Fam has created a fantastic tutorial to simplify the process of programming the scanning function on your Talkpod A36p ham radio. Whether you're a seasoned radio enthusiast or just starting out, this video provides clear and concise instructions to help you make the most of this powerful feature.
Why Use the Scanning Function?
The scanning function allows your radio to automatically search through a pre-programmed list of frequencies, making it easy to monitor multiple channels simultaneously. This is particularly useful for:
- Emergency monitoring: Keep an ear out for emergency broadcasts or distress calls.
- Event coverage: Track multiple channels during events like races or festivals.
- General monitoring: Stay updated on activity in your local area.
What You'll Learn from the Video:
- Step-by-step instructions: The video guides you through the entire programming process, from accessing the menu to saving your scan list.
- Tips and tricks: Ham Fam shares valuable tips to optimize your scanning experience, such as choosing the right scan speed and setting up priority channels.
- Troubleshooting: Common issues and their solutions are addressed, ensuring a smooth programming process.
Key Benefits of the Talkpod A36p Scanning Function:
- Efficiency: Automatically monitor multiple channels without having to manually switch between them.
- Convenience: Customize your scan list to include only the frequencies that matter to you.
- Versatility: The scanning function can be adapted to various communication scenarios.
In Conclusion
If you're looking to enhance your Talkpod A36p experience, programming the scanning function is a must. Ham Fam's video provides a clear and easy-to-follow guide that will have you up and running in no time. By following their instructions, you'll be able to efficiently monitor multiple frequencies and stay connected to the action.





































Leave a comment
This site is protected by hCaptcha and the hCaptcha Privacy Policy and Terms of Service apply.